
The draft is done. Now where does it go? Most tutorials stop the moment the AI finishes writing, but the harder decision is how to route AI article drafts to WordPress, a custom API, or an export file without anything going live by accident.
Picture the coffee shop in FlowMattic's video "Turn Any RSS Feed Into AI-Written WordPress Drafts." A supplier posts news, and the shop wants a short post for its own customers. Should that draft land in wp-admin, in a headless CMS queue, or in a file an editor opens first?
If you've stalled at this step, that's normal. This guide shows you how to land every draft in the right place, unpublished and ready for review. Before you start, you need three things: your stack (WordPress, a headless or custom CMS, or no CMS), admin access or an endpoint, and one named reviewer.
First, match your stack to a route. Then follow the setup steps for your path. One path is riskier than it looks, and you'll see which one before the end.
Key Takeaway: Send drafts to WordPress with draft status if you run WordPress. Use a custom API for headless or custom stacks. Use an export file for handoffs. In every path, a human reviews the draft before anything publishes.
Which Route Fits Your Stack: WordPress, API, or Export File?
Pick the route that matches where your content lives. WordPress sites should receive drafts with draft status. Headless or custom CMS stacks should receive drafts through an API or webhook. Teams with no CMS, or teams handing work to a client, should export a Markdown or HTML file.
What if your site isn't WordPress? A headless CMS stores content and delivers it through an API to any front end, so you send drafts to its endpoint instead of to wp-admin. An export file is a standalone Markdown or HTML document that an editor can open, review, and paste anywhere, so it works even when no CMS exists.
| Your stack | Best route | Where review happens | Failure risk |
|---|---|---|---|
| WordPress | Post with draft status | wp-admin | Status set to publish |
| Custom or headless CMS | API or webhook | Your CMS queue | Field mismatch |
| No CMS or client handoff | Markdown or HTML file | The editor's document | Formatting loss |
- Best for WordPress site owners: send to a WordPress draft.
- Best for teams on a headless or custom CMS: send through an API.
- Best for client handoffs or sites without a CMS: export a file.
All five landscape videos on this topic assume WordPress plus an automation tool such as n8n, FlowMattic, or MCP. They are solid guides if you run WordPress. Each one shows only one path, though, so non-WordPress teams have to work out the other two routes themselves.
If you'd rather not build that wiring, the BloGoose researched articles in the Growth Duo include all three routes built in: WordPress drafts, API delivery, and file export.
How to Route AI Article Drafts Step by Step
Connect your destination, set every draft to an unpublished status, send one test, and confirm it arrived. You need admin access (WordPress) or an endpoint URL and key (custom API), plus one named reviewer. Each path takes roughly 10 to 20 minutes to set up.
WordPress path (about 10 minutes)
- Create an application password. In wp-admin, open Users, then Profile, and scroll to Application Passwords. Type a name such as "AI drafts" and click Add New Application Password. An application password is a revocable credential for one app, not your login password. You can revoke it per app, and it keeps your main login private. Copy it now, because WordPress shows it only once.
- Connect it. In your writing tool's WordPress settings, paste your site URL, your username, and the application password. You should see a connected or success message.
- Set the default status to draft. The WordPress REST API posts endpoint accepts a status value, so use "draft," not "publish." A draft is saved but hidden. Pending means the draft waits for an editor's approval. Publish means the post is live.
- Send one article. Open Posts, then Drafts. Your article should appear there, unpublished.
Custom API path (about 20 minutes)
- Define the endpoint or webhook. Copy the URL and auth key from your CMS settings and paste them into your tool.
- Map the fields. Here's where it gets tricky: your CMS may name fields differently. Check that each of these fields matches: title, body, excerpt, slug, status, and taxonomy (author or category).
- Send a test payload. Push one short sample article to the endpoint.
- Confirm the response. A success code and a returned ID mean the article arrived. Then open your CMS queue and check that the entry shows draft status.
Export path (about 5 minutes)
- Choose a format. Select Markdown for plain editors or HTML for rich formatting.
- Export the file. Download it. You should see headings and links intact.
- Hand off the file with review notes. List the claims to verify and the person who approves the draft.
Worked example 2: The coffee shop exports the supplier-news draft as a Markdown file. An editor reviews it in a shared doc before it goes on any site.
From my own work on these routes, routing usually breaks on the status field and on field mapping, not on the writing. For how research quality compares across tools, see BloGoose vs. Jasper for researched WordPress articles.
Once the draft lands, check that it actually stayed unpublished.
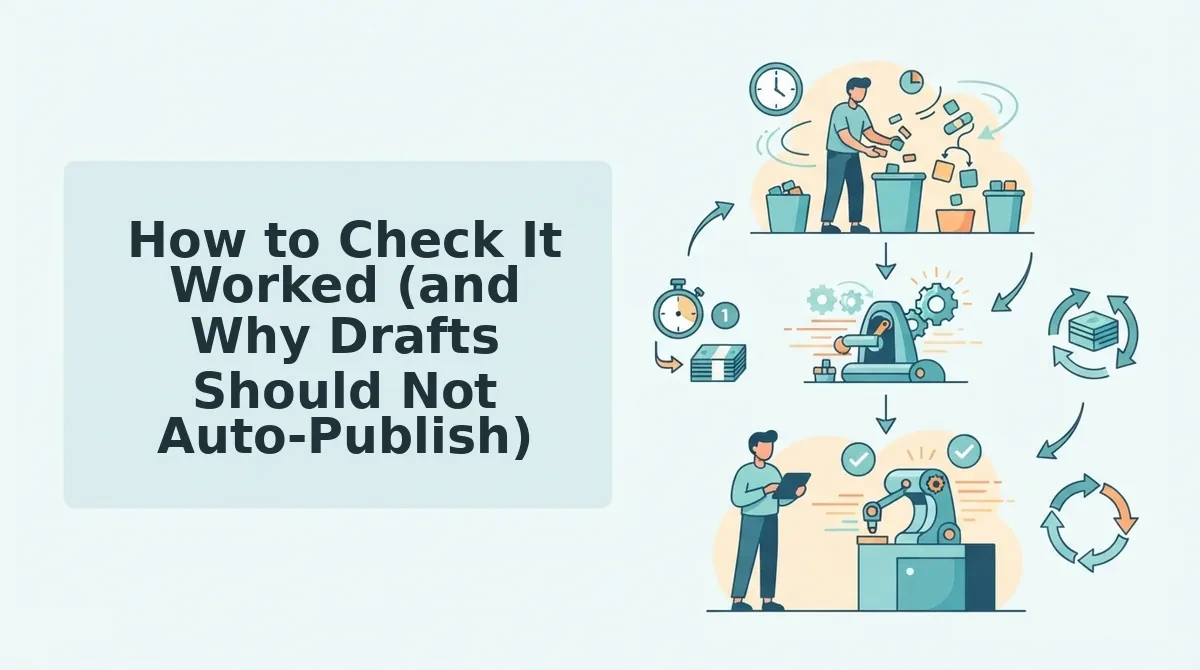
How to Check It Worked (and Why Drafts Should Not Auto-Publish)
Routing worked when the draft lands where you sent it and no outside visitor can see it yet. A review gate is a human checkpoint that holds every AI draft until someone approves its facts, its wording, and its publish status.
A restaurant pass works the same way. The kitchen plates the dish, and the head chef checks it before a server carries it out.
Start with one simple check for each path:
- WordPress: The post appears as a Draft in wp-admin, which is the WordPress dashboard. It is not live for logged-out visitors.
- API: The request returned a success response, and the item sits in your CMS review queue.
- Export: The file opens with its headings and links intact.
Next, assign the gate. Whichever route you choose, you still review the facts, the words, and what gets published.
| Path | Facts check | Words or brand-voice check | Who changes the status to publish |
|---|---|---|---|
| WordPress | An editor checks the draft in wp-admin | The editor revises it in the block editor | A named reviewer clicks Publish |
| API | A reviewer checks the item in the CMS queue | The reviewer edits it in the CMS | The reviewer approves it in the CMS |
| Export | A reviewer checks the file before pasting it | The reviewer edits it in the target editor | Whoever publishes it on the destination site |
But here's the catch. The most-viewed tutorial on this topic is Saba Rafaqat's "I Built an AI Blog Writer That Posts Automatically to WordPress," with 9,492 views. It builds auto-publishing, and no video we found explains the risks.
Should AI drafts auto-publish? No. AI drafts should save with draft status by default and go live only after a human signs off. Auto-publishing skips three checks a person can make in minutes. The first is unchecked facts, such as wrong prices or invented claims. The second is brand-voice drift, where the copy stops sounding like your business. The third is thin or duplicate pages, which can hurt SEO when near-identical posts compete for the same search. A review gate costs a few minutes per post, and it prevents public errors.
Worked example 3: In the coffee shop's setup, the RSS feed creates a WordPress post for each update. The automation now saves each post as a draft instead of publishing it. The owner checks the dates and prices, adjusts the copy to write in your brand voice, and then clicks Publish.
You may not want to build trigger stacks for regular articles. If so, BloGoose drafts researched articles from what your website already explains, so the review gate is the only step you add.
AI Draft Routing FAQ
The answers below cover the automation questions that most tutorials skip.
Do I need n8n or FlowMattic to route drafts?
No, you don't need n8n or FlowMattic if your writing tool has a built-in route to WordPress, a custom API, or an export file. Built-in routes skip the automation layer. Add a tool like n8n only for triggers, such as turning new RSS items into drafts.
Is MCP the same as a built-in route?
No. MCP lets an AI assistant manage a site through chat, and Saba Rafaqat's MCP video covers this kind of site management. A built-in route does something different: it delivers a finished draft to WordPress, your API, or a file.
Should I export Markdown or HTML?
Export Markdown for editors and for static or headless sites, because Markdown is plain text with simple formatting marks. Export HTML when you will paste the draft into a CMS editor, because the headings and links carry over without conversion.
How do I find tools with built-in routes?
Check whether the tool can send output directly to WordPress, an API, or a downloadable file before you add automation. You can browse the Verthilix product family to compare tools by job, such as content creation or communication.
Pick One Route and Keep the Review Gate
Bottom line: The route matters less than the gate. I build tools that deliver drafts, but I would never let them publish without a person checking first.
- Match the route to your stack: WordPress, an API, or an export file.
- Default every draft to draft status.
- Name one reviewer who approves the facts, the words, and the publish decision.
If you want both short videos and articles, start with the Growth Duo. It pairs Vlozy short videos with BloGoose researched articles in the Growth Duo under one PayPal subscription, with separate logins for each product. For more workflow guides, read the Verthilix Journal, and keep the final publish decision with your own team.