
Plan your blog and social content from the same customer question.
You do not need two disconnected content plans to talk about the same customer problem. A useful question can become an article for someone searching and a short demonstration for someone scrolling, as long as each format is made for its audience.
Use one editorial calendar to track the question, the evidence, and the person who approves each asset. Give the article a useful answer and the social post one action to show. Keep the publishing dates and review steps separate so each piece can go live when it is ready.
Why the two calendars drift apart
A blog article may need research, source checks, and an editorial review. A social post can have a shorter deadline and depend on different footage, captions, and platform formats. The people doing the work may also be different.
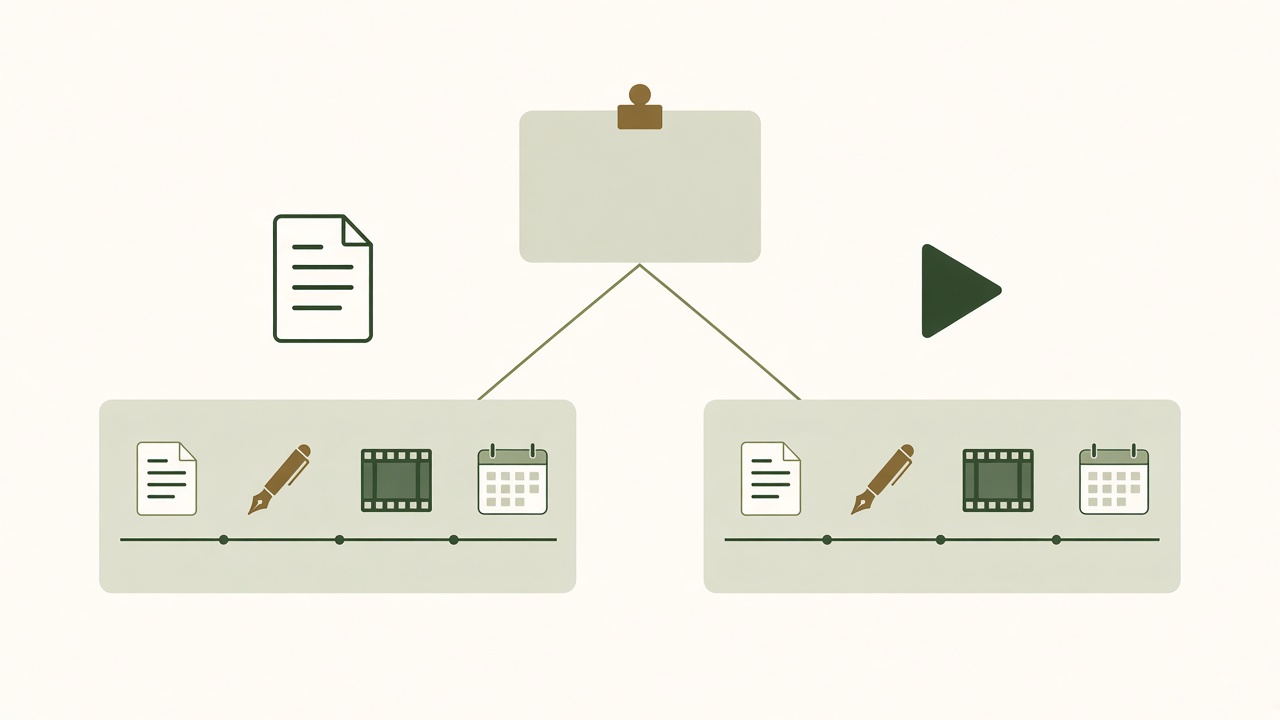
Give the topic one place in the editorial calendar, then track each format separately. Both owners can see the approved facts and the source material without having to wait for the other asset to ship.
Give the topic one home
Start by looking at what the blog and social calendars ask people to record. The blog may track research, drafts, and an editor’s decision. The social calendar may track a shoot, captions, and a date for each channel. Those are valid differences. The trouble begins when neither calendar says where the customer question came from or which facts are safe to reuse. Two owners can then produce related assets without knowing that the other one has already found useful evidence.
Use a shared entry for the question, audience, source material, and product owner. Give the article and social assets their own status, deadlines, and links under that entry. When a product detail changes, the topic owner can see which assets depend on it. The article editor can also share a useful explanation with the video producer before the article itself is ready. The shared entry connects the work without forcing both formats into the same review schedule.
Assign deadlines that fit the work
Begin with the date a piece needs to be useful. A social demonstration tied to a release may need to go out early in the week. An article about the broader problem can follow after the research and screenshots are checked. If the clip promises a link to a detailed guide, the guide needs to be available first. A short note about that dependency is more useful than putting the same deadline on every asset in the calendar.
Plan around reviewer availability as well as publication dates. If the founder can check product claims only on Wednesdays, send the source packet and both outlines in advance. The editor and producer can work on the parts that are already settled. Keep uncertain details flagged until the owner confirms them. This makes it easier to decide whether to delay the work, narrow the scope, or publish one approved asset while the other waits.
Keep the calendar usable
Use statuses that describe a decision someone can act on. “Ready for product review” tells a colleague what needs to happen. “In progress” can mean that research is missing, the caption needs a change, or the asset is ready but waiting for a date. A short status and a named next owner make it easier to spot a delay without asking everyone for an update.
At the end of the week, archive the links to the published versions alongside the brief. Note any content that was held and why. This keeps the record useful when someone wants to reuse the topic later. A useful calendar shows both what shipped and what the team learned about the work, including whether a piece needs an update after a product change.
One topic, two content jobs
Answer the search question
Use the article outline to address the reader’s intent. Explain the problem, give the steps in order, and link to evidence or product documentation where a reader needs more detail.
Show one action on social
Write a hook that names the problem and a short script that shows a visible action. Use a caption that makes sense on its own and choose a format the destination supports.
Decide what the reader needs to finish
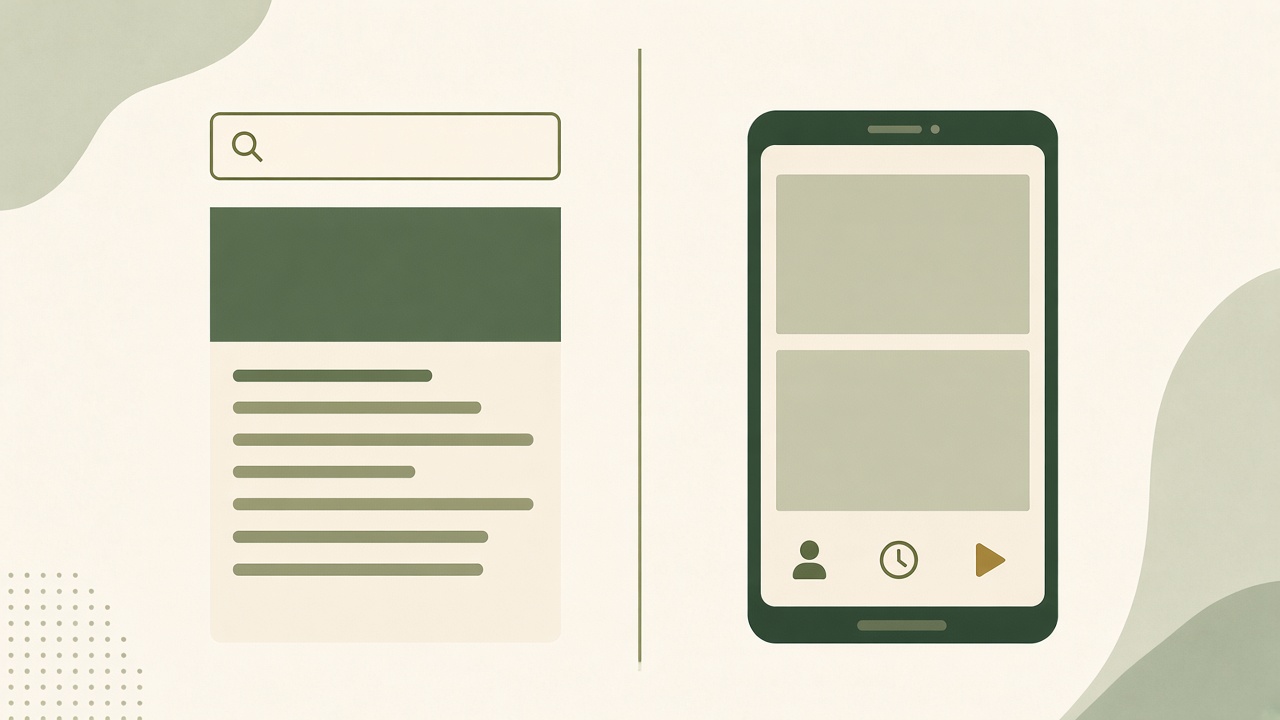
A person who searches for help with a follow-up process is likely looking for a sequence they can use. The article can define the problem, explain which information to capture, and show the steps in order. It can also cover the case where someone is away or an appointment is rescheduled. Use Google’s SEO Starter Guide when checking the article’s structure and links. Give the reader enough information to carry out the process without needing to watch a clip or book a call to understand the basic answer.
The long-form angle should come from the question, not the amount of text a tool can produce. If the answer is a checklist, put the checklist where someone can find it quickly. If the answer depends on a product setting, show the current setting and point to a source the editor can verify. Include only the background that helps the reader choose or complete the next step. A narrow topic can be useful without becoming a broad guide to everything the software does.
Decide what the viewer needs to see
On social, choose one moment that can be understood without the full article. For the follow-up topic, that could be the difference between an appointment with no assigned next action and one with a visible owner and due time. Open on the problem so the viewer knows what to watch for. Keep the screen clear enough that the person can see what changed. The W3C guide to captions explains how to convey speech and meaningful sounds in text. A caption can explain the action when the sound is off or the interface label is hard to read.
Build the hook after choosing the scene. A line like “Give every appointment a clear next step” is easier to support if the clip shows exactly that. If the footage cannot demonstrate the promised action, choose a different scene or change the hook. A short video can introduce an idea or show one concrete action, while the article can explain conditions, exceptions, and the full set of steps.
Give a follow-up post a different job
A third asset can ask how people handle the problem today, share a quick checklist, or answer a question the clip receives. Choose its purpose before adapting the copy. A question invites someone to describe a problem. A checklist helps someone check their own process. A link to the article helps someone who already wants the full explanation. These are different jobs even when all three use the same source material.
Keep approved terminology consistent across the pieces. A reminder, a due time, and an assigned owner should mean the same thing in the article, storyboard, and caption. The sentence structure, length, and emphasis can change to suit the channel. Read the assets together before publishing to catch conflicting claims and to make sure each piece is worth seeing on its own.
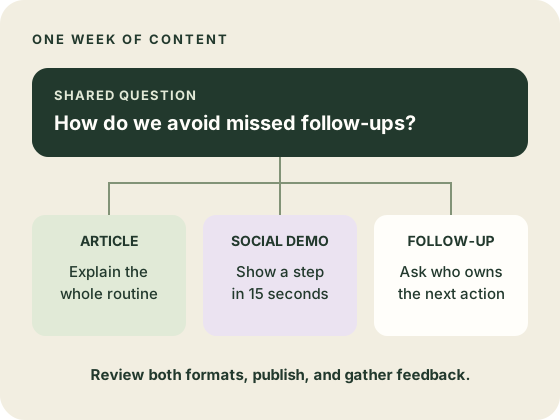
A real weekly planning example
How can a team avoid missing a follow-up after an appointment?
Based on the research’s scheduling software scenario.
Article brief
Help teams agree on when a follow-up is due, who owns it, and how to confirm it was sent. Verify the reminder settings in the product before explaining them. Review the research and approve the article before publication.
15-second demo storyboard
- 0–3 seconds: Show an appointment with no follow-up assigned.
- 3–11 seconds: Show the verified steps to assign the follow-up and set a reminder.
- 11–15 seconds: Show the owner and due time. Caption the clip: “Give every appointment a clear next step.”
Follow-up post
“Who owns the next step after an appointment? Before you close the calendar, set a due time and name the person responsible.” Link to the article once it is live.
See the actual workflow, review what is included and choose the next step that fits your business.
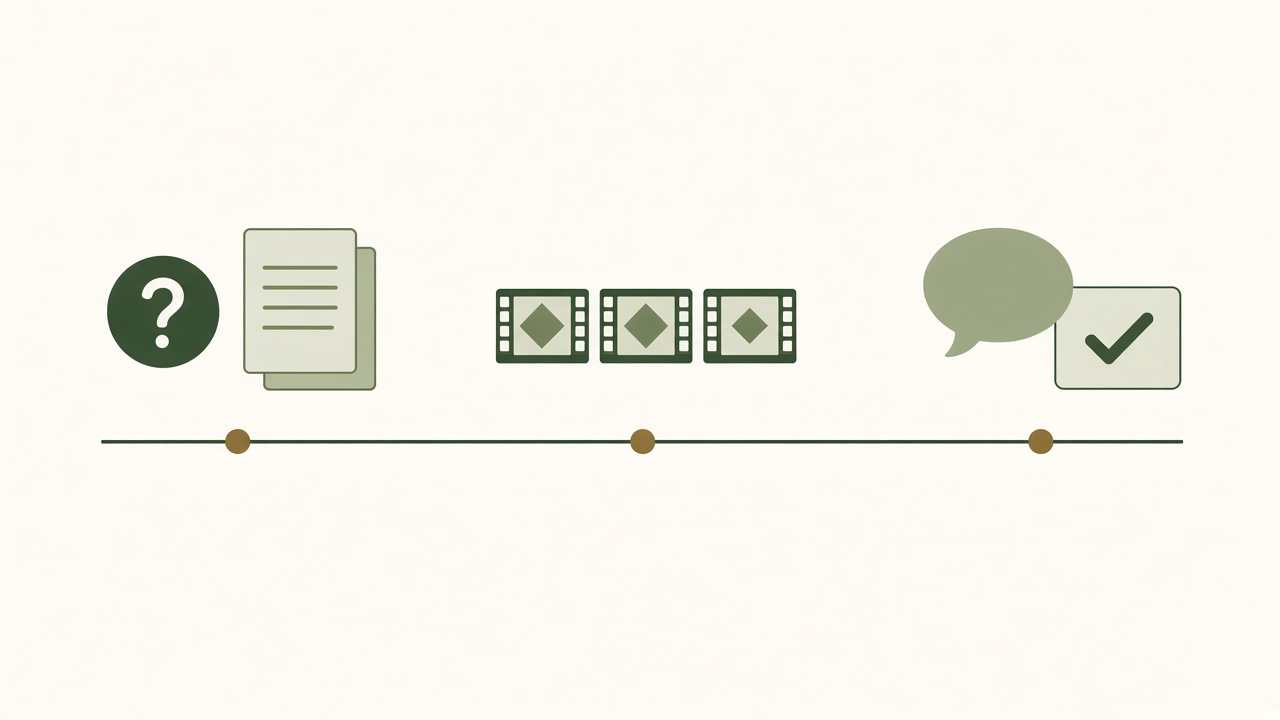
Pick the question on Monday, approve the article and storyboard midweek, then schedule the approved pieces for their channels. Review comments, clicks, and new questions at the end of the week to plan the next topic.
Monday: write down the question and the evidence
Record the question as a topic in the shared calendar. Write a sentence about who needs the answer, such as the person who schedules appointments or the teammate who sends follow-ups. Gather a current help page, screenshots you can use, and a safe sample appointment for the storyboard. Mark anything the product owner needs to confirm. If you cannot verify a setting, leave it out of the draft or change the example to a behavior you can show accurately.
Agree which asset should go live first. In this plan, the article gives the complete routine and the clip shows a single handoff. If the caption points to the guide, give the article the earlier slot. Record the dependency beside the clip. If you decide to publish the clip first, make its caption useful on its own and avoid promising a link that people cannot yet open.
Midweek: review the article and storyboard together
Review the article’s process in order. Check how it handles an appointment with no assigned owner and whether the proposed steps reflect the product’s actual behavior. Then walk through the storyboard with the same source material. The producer should be able to point to the exact action shown in each shot. Trim any setup that takes time away from the change the viewer needs to see. Keep identifying details out of the footage.
Read the caption on its own. Make sure it describes the action the viewer can actually see and that it uses the same terms as the article. If the product reviewer changes one of those terms, update the article, storyboard, and caption together. Record the approved versions before moving anything to a scheduler. Give each piece a final owner so a late correction reaches the person who can still make it.
End of week: review the published pieces and the next question
After the article is live, check the URL and open it from the caption or follow-up post. Check the clip in its destination to see whether its framing, captions, and link survived publication. If you are publishing to YouTube, check the Shorts upload requirements for that format. Record a failed post separately from assets that went live. Correct the failed destination before retrying so that a successful channel does not receive a duplicate.
In the weekly review, ask what people still want to know. If you post on LinkedIn, its post analytics guide explains the difference between impressions and members reached. A comment about who takes over when the owner is away could become the next article update or a follow-up post. If the clip attracts views but people ask where the steps are, improve the handoff to the guide. Record what the team can verify from the feedback. The next topic should address a useful question rather than simply repeating whichever format received more impressions.
What can be automated
Use templates for briefs, caption drafts, asset handoffs, and status updates. Where your tools support it, connect an approved asset to a publishing destination and schedule it for the right channel.
Keep an editor responsible for claims, sources, brand consistency, rights, and final format. Decide who handles an expired connection, a rejected upload, a correction, or a post that needs to be stopped before publication.
Automate repeatable preparation first
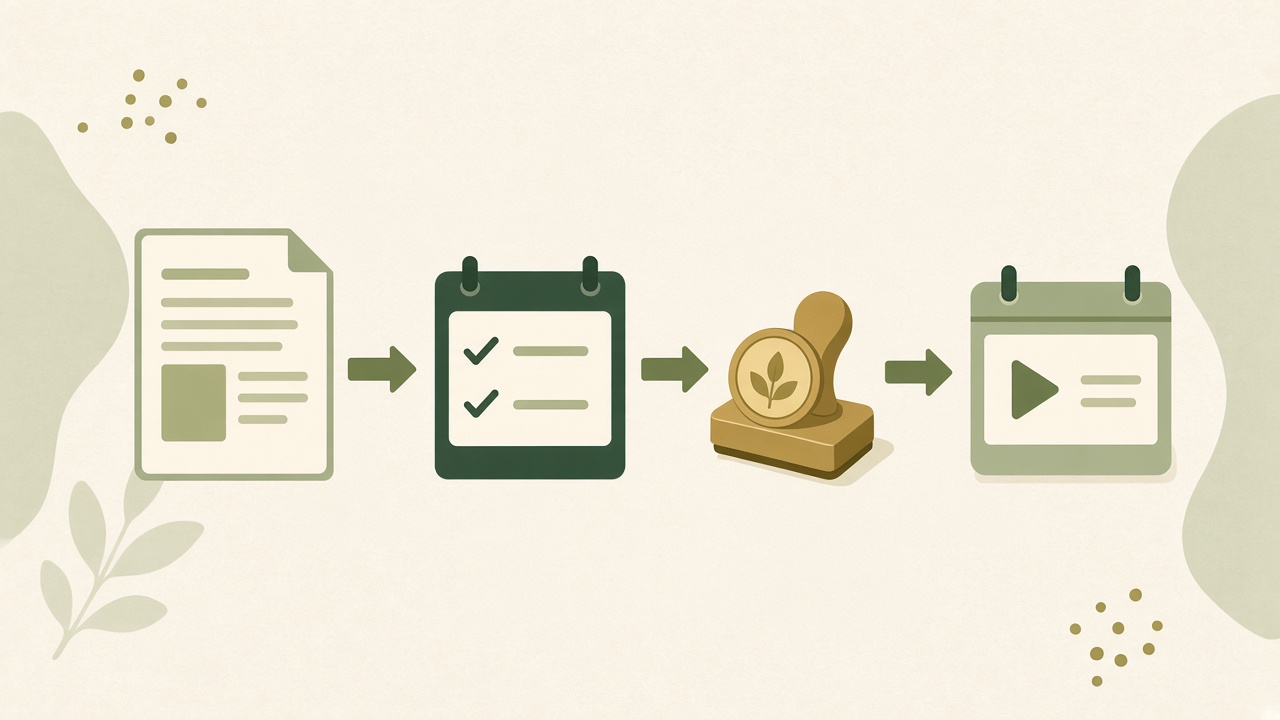
Look for work that starts with the same inputs each week. A topic entry can create a brief with fields for audience, source links, owner, target dates, and review status. A caption template can prompt the writer to include the action shown and the next useful link. A status update can remind the editor that a draft is ready. These steps remove repeated setup while leaving the team responsible for the material that goes into the template.
Choose one task to test at a time. For example, try using the approved topic entry to prepare an article outline and a social brief. Compare the resulting drafts with the source packet. Record where the outline added an unsupported claim or the brief asked for footage the team does not have. Improve the inputs or narrow the task before making the same setup part of every topic. A consistent error becomes more expensive when it is repeated automatically.
Give publishing a clear approval rule
When the destination is WordPress, check its post settings for scheduling and visibility before connecting a tool. An automated publishing step should know which asset it can release, which account or destination it can use, and when the release is allowed. The review record should point to the specific version. If a writer edits that version after approval, decide whether it needs another check. Keep a way for the responsible person to hold or withdraw a queued post when a product fact changes or a release is delayed.
Set expectations for exceptions before connecting destinations. An expired connection, unsupported format, or rejected upload should leave the job in a state someone can identify. Record which destination failed and what the owner needs to check. If an item may have reached one channel before another failed, check the first destination before retrying. An ordinary recovery procedure is part of a usable publishing workflow, just as much as getting a post out on time.
Keep editorial checks close to the asset
Check the wording, source material, screenshots, and intended destination together. When an article uses a claim the video repeats, one verified source can inform both reviews. The article may still need its own link and context, while the clip may need a caption that accurately describes what is visible. Record any decision that affects both formats in the shared brief so the next person sees the reason for the change.
Review the process when your schedule or tool setup changes. A new channel may need a different format, a different person may own the approvals, or a new product version may invalidate old footage. Try one asset through the updated flow before relying on it for a full week. Keep the manual steps that are useful when the team needs to investigate a failure or make a correction quickly.
How to compare combined workflows
| Check | What to verify |
|---|---|
| Integrations | Confirm where the article and each social asset can go, which permissions you need, and when an export or manual handoff is required. |
| Asset types | Try an article draft, a short clip, and its caption. Check how each can be edited and whether the output fits its destination. |
| Publishing controls | Try approving, rescheduling, and stopping a post. Find out who receives failure notices and who can correct or retry a post. |
Test a real handoff before comparing feature lists
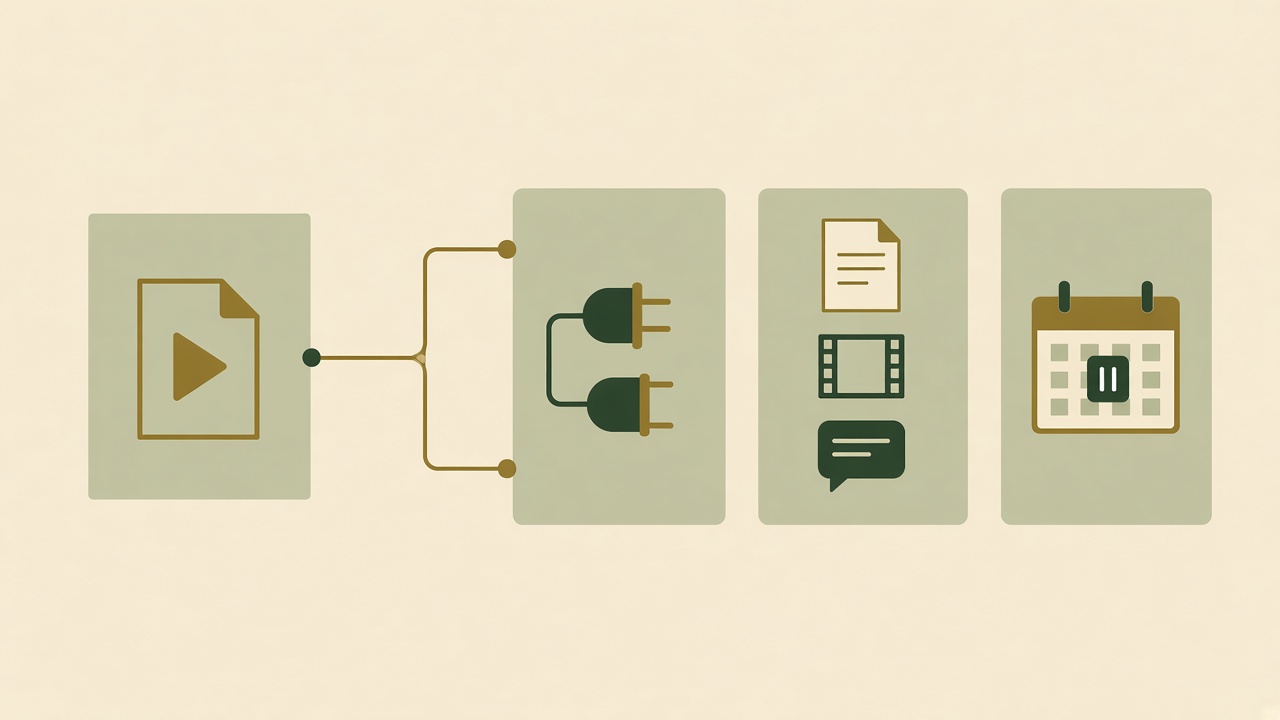
Pick one article and one social asset your team would actually want to publish. Bring the same topic and source material to each option. Test what happens after the draft exists: who can edit it, where the review happens, and how the approved version reaches its destination. If a tool only prepares a draft or exports a file, record the next step and who will own it. The job can still be a fit if the handoff is easy and reliable.
Ask about the accounts you use today. A general claim about a publishing integration does not establish whether it supports your website setup, account type, or the exact format you want. Check which permissions are needed and who can authorize them. If the team will use an export, try importing it into the next tool. Confirm that the text, links, and captions arrive in a form the receiving person can use.
Compare the work your editors will still do
Send the trial article and video to the people who usually review them. Ask each reviewer to check one real product claim and make one routine correction. See whether they can tell what changed and who must review it again. Ask the publisher to locate the final approved version and identify the planned destination. Use that experience to judge whether the option supports the team’s actual work.
Compare the amount of context that must be re-entered between steps. If the article tool and video tool both need the product facts, a shared brief may be enough. If each format needs several additional handoffs, write them down with their owners. Count the time spent preparing, reviewing, and correcting both assets. A setup that creates a draft quickly can still require substantial effort if the same facts have to be checked in several places.
Confirm what happens after scheduling
Test an ordinary change to the calendar. Move a post to another day, hold it after a product change, and find out how the owner sees whether it went live. If you cannot safely test publishing during evaluation, ask for a demonstration using the same destination and permissions. Find out what information appears when a connection expires or an upload is rejected. A tool’s behavior after a failure matters to anyone who maintains a weekly cadence.
Choose the option that meets your editorial and publishing needs for the next set of topics. A team that posts infrequently may be comfortable with a manual export. A team that coordinates several assets a week may value a clear queue and a recoverable approval process. Look at what the team can check, correct, and publish with confidence. Keep a record of any remaining condition that must be confirmed before you commit.
Explore the Growth Duo approach
BloGoose is the website content side, covering topic planning, research, and article drafts. Vlozy is the social creative side, helping prepare short product videos. Use the same approved topic and evidence to brief both tools.
Bring the real customer question, product facts, footage you can use, and your preferred channels. Decide who reviews the work, then check the supported formats, publishing destinations, and plan details on the Growth Duo offer.
Bring one question to both tools
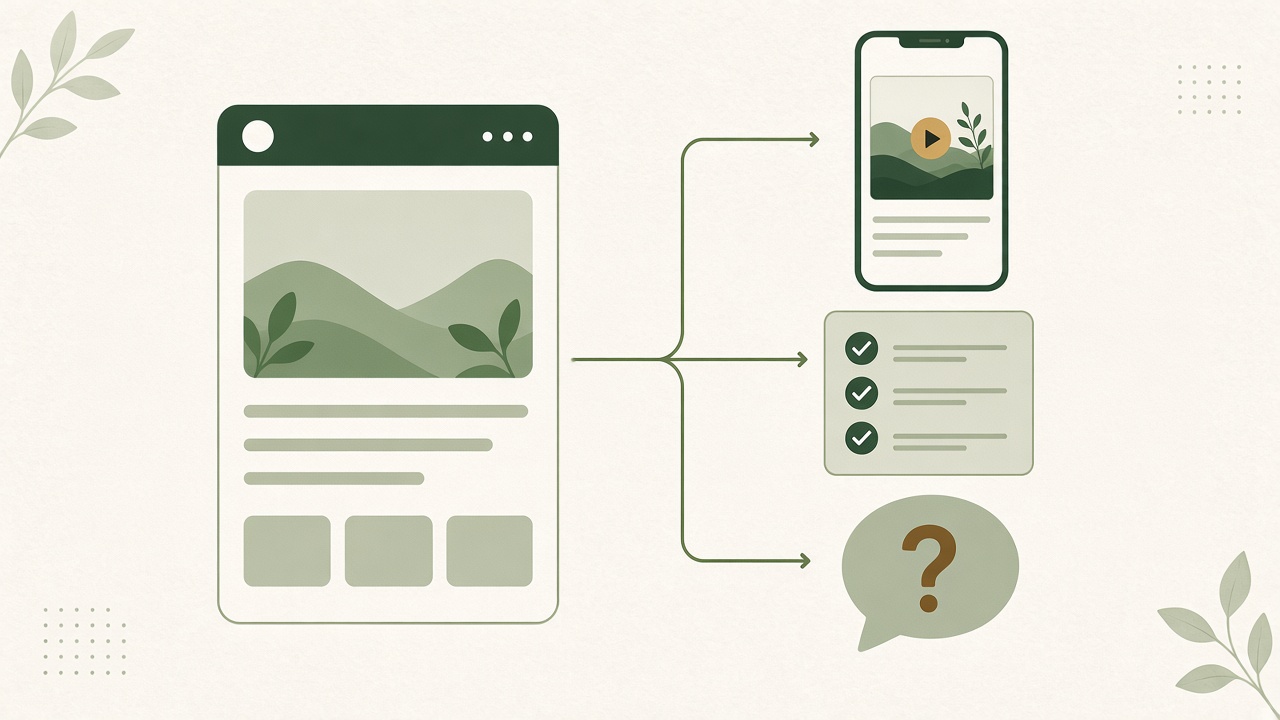
For the website branch, start with the reader’s problem and the evidence needed to answer it. Use the article process to organize the explanation and review it against current sources. For the social branch, choose a visible action from the same topic and prepare a brief for the clip. Give the video its own hook and caption. It should make sense even if someone never opens the article. Both briefs can share product facts without using the same structure.
Ask the team to bring its own documentation, approved wording, and footage it can use. The product owner can confirm what the feature does. The editor can check whether the article answers the intended question. The producer can check that the social clip shows what its caption promises. These roles can belong to the same person, but each check should have a clear place in the plan.
Evaluate the first week before expanding
Run one topic through both branches at your normal pace. Keep the shared brief beside the approved article and clip. Note which material was useful to both and which assets needed their own source, edit, or approval. Follow the usual publication process for each channel. For links from social posts to the article, Google Analytics’ campaign URL guide explains how to tag those visits. After publishing, record the live links and any issues that need to be fixed before repeating the workflow. This gives the team something concrete to discuss when comparing it with its current tools.
Look at the plan in the context of that trial. If your team mostly needs an article workflow, check what it would do with the video branch before choosing a bundle. If social creative is the main need, check which website questions would deserve a full article. When both formats are recurring, confirm how the offer fits your destinations, review process, and support needs. Use the current offer and product documentation for the details that affect your decision.
Keep a feedback loop that fits the two formats
Read article feedback alongside comments and questions on the clip. Look for places where the audience needs more detail or where one asset should point to the other. An article might need a clearer step or a screenshot. A clip might need a different opening so the viewer can see why the action matters. Keep a list of questions the audience raised, then pick the one that would help the most people next week.
After a few cycles, review where the team spent its time. Check whether the shared brief reduced duplicated effort, whether the editors could approve assets without chasing missing context, and whether a change in one format reached the other owner in time. Use those observations to adjust the calendar. A workable plan should help the team maintain its standards while producing content that is useful in each place it appears.
Questions about planning and publishing
Can blog and social media content be planned together?
Yes. Put the customer question and source material in one brief, then choose a different angle and format for each channel.
How can I turn one blog topic into several social posts?
Pull out a demonstration, a useful checklist, and a follow-up question. Give each post a specific job and check its claims against the article’s sources.
What is a blog-to-social media workflow?
It is a repeatable process for taking a blog topic or published article and adapting its useful ideas into social assets with their own review and publishing steps.
Can software publish a blog and social posts automatically?
Some tools can send approved assets to connected destinations. Check the current integration, account permissions, format restrictions, and what happens if publication fails.
How do I keep a consistent brand voice across channels?
Share the same facts, terminology, and examples of your voice. Adapt the length and delivery to each channel, and review both versions together.
Which content should be repurposed for short videos?
Choose an idea that can be shown in one scene, such as a product action, a common mistake, or a visible before-and-after.
How do I avoid repeating the same message everywhere?
Give each asset its own angle. The article can explain the whole process, the video can show one step, and a follow-up post can invite a specific response.
What should a weekly content calendar include?
Record the question, channel, asset, owner, deadline, approval status, publication date, and a date to review feedback.
Is social media automation useful for a new website?
It can help with repeated preparation and scheduling once you know what you want to publish. Start with one useful topic and review the results before expanding.
What is the difference between repurposing and duplication?
Repurposing adapts an idea to a new audience or format. Duplication repeats essentially the same material across destinations.
Review the two workflows and decide how each would fit your weekly calendar.