
Show what your product does before asking people to believe it.
A useful product demo answers one question quickly: what happens when someone uses this feature? A short video can make that answer visible. The hard part is choosing the right moment, writing a clear script and showing the real product accurately.
This guide helps SaaS founders and product marketers plan a short software demo, prepare the footage, and decide which production steps an editor, template, or AI workflow can handle. Start with an action your product already supports and a result viewers can see.
Start with a moment, not a feature list
Pick a change the viewer can see
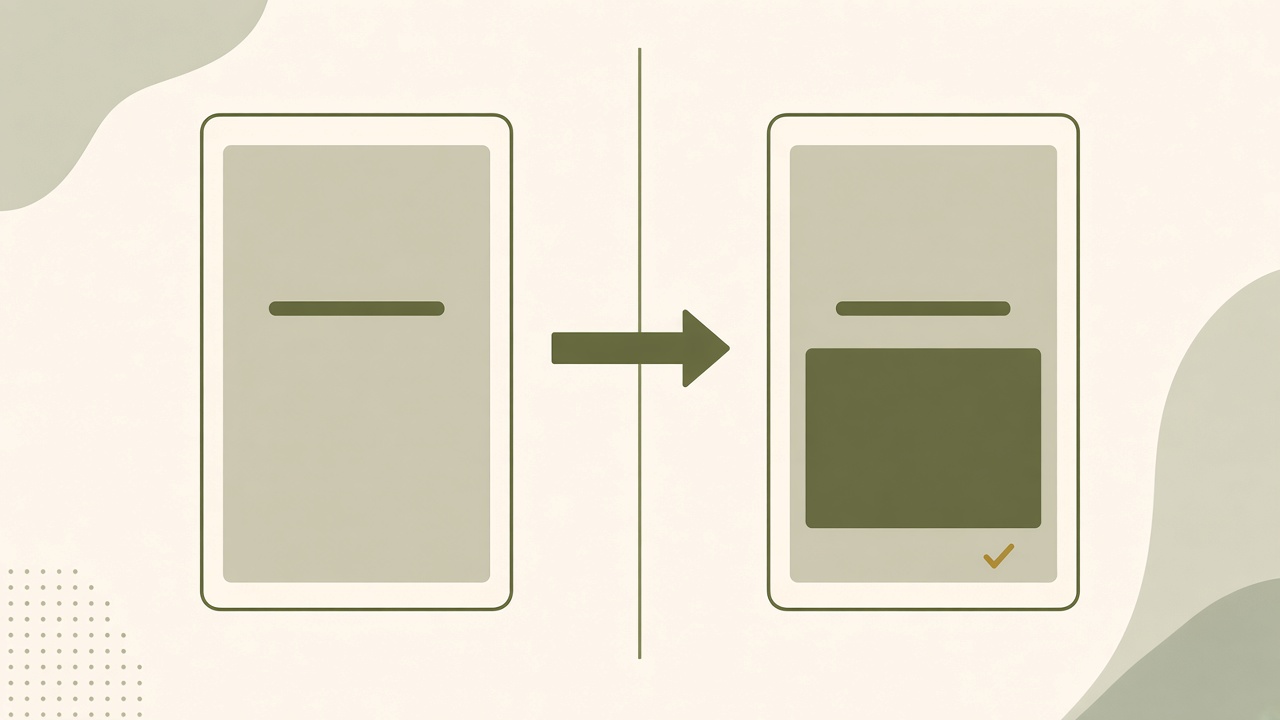
Look for a product action that makes something different on screen. A customer sets their appointment availability, a teammate assigns a task, or a reviewer approves a draft. The useful moment is the transition between two states. Write down what the viewer sees before the action, what the person using the product does, and what appears afterward. If the answer depends on several settings or a longer sequence, choose the part that can be demonstrated by itself. A short clip can establish one useful thing, then point the viewer to a fuller explanation.
Choose the viewer before choosing the footage. A person who has never used the product needs enough context to recognize the starting state. A customer who already knows the interface may only need to see the new control. Record which account, role, or plan the example uses and whether those conditions matter. A feature can be genuine while a particular demo implies more availability than the viewer will have. If a setup step or eligibility condition changes the meaning of the clip, make room for it in the opening, caption, or destination guide.
Decide what the footage can prove
Separate the visible result from the business outcome you hope it will support. A booking page showing available times can demonstrate which options a visitor sees. That footage cannot establish how many bookings a business will receive. An approved draft appearing in a queue can demonstrate its new status. It does not show that an external channel has published it. Use the words that describe the state the viewer can check. If a promised outcome takes place later, capture separate evidence or keep the short demo focused on the action you can show now.
Take a reference from the product’s current documentation before recording. For the example below, the Google Calendar appointment schedule guide describes how a user sets appointment availability. The storyboard uses that documented behavior to plan a before-and-after view. The timings are proposed editing marks. Use a test schedule and inspect the booking page yourself before recording the sequence, because available settings can vary by account and the details shown in a recording can change.
Show how a change to appointment availability appears on a booking page.
These are planned shots and timestamps for a documented feature.
| Time | What to record and why |
|---|---|
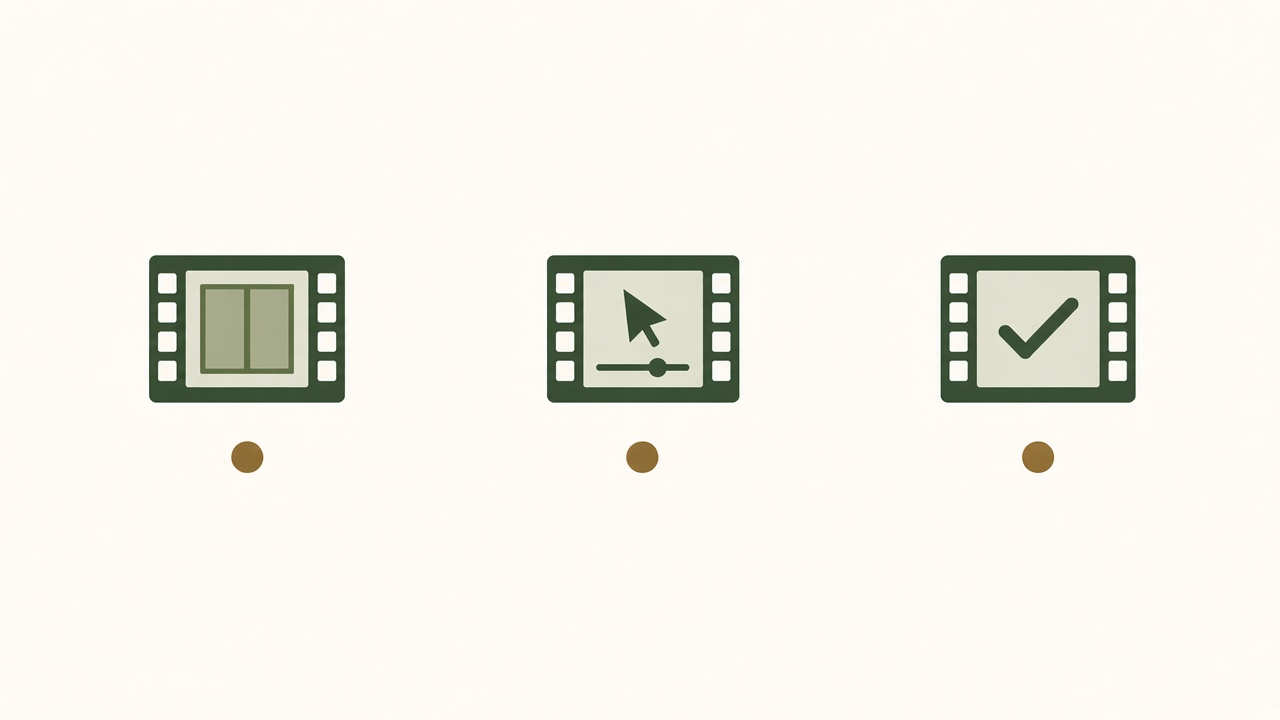
| 0–4 seconds | Show the booking page before the change. Keep the appointment window visible so viewers have a starting point. |
| 4–14 seconds | Show the availability setting, change one time window, and retain the step that confirms or saves the change. |
| 14–20 seconds | Open the updated booking page in the same test setup. Hold the changed window long enough to read and point to the setup guide. |
See the actual workflow, review what is included and choose the next step that fits your business.
Short-form demo structure
Open on the problem and the relevant screen
The first frame should help the viewer locate the problem. Open on the relevant schedule, empty state, status, or control. Add a line that gives that picture meaning. For the appointment example, you might say “Need to change when people can book?” while showing the existing time window. A product logo can identify the clip without taking over the opening. If the first image is an unrelated title card, the viewer has to wait to find out what the demo is about. A short introduction works better when it gives the screen action a clear purpose.
Make the opening question narrow enough that the next shot can answer it. A claim such as “Manage all your bookings” is broad and leaves the editor guessing what to show. “Change which times appear on your booking page” gives the editor a starting screen and a result to verify. Write a few possible openings and ask a colleague who is unfamiliar with the feature what they expect to see. Choose wording that sets the right expectation before you spend time recording variations.
Show the action in the real interface
Record the control being used and the state changing. A wide shot can establish the page, then a closer crop can help the viewer see the relevant label. Keep the pointer movement deliberate. Remove loading time if it adds nothing to the explanation, but preserve any step that changes the result, such as selecting an account or saving a setting. If you cut between screens, make it clear how they relate. A viewer should be able to tell which state they are looking at and what action brought them there.
Give the viewer time to read and follow the important change. A close crop helps only if it retains the information needed to understand the action. Play the draft without sound and see whether the movement tells a coherent story. Then listen with the screen turned away and check whether the narration describes the important visual detail. The W3C guidance on describing visual information can help you identify actions or screen changes that need to be explained in the audio or a text alternative.
End with visible proof and one next action
Hold on the result long enough for the viewer to compare it with the opening. If the demo shows an updated booking window, keep the new time visible. If it shows a draft awaiting approval, show that status. Let the call to action follow from what the viewer has seen. A help guide makes sense for someone trying to repeat the steps. A product page may be useful for someone comparing features. A clip that ends with several unrelated requests gives the viewer little direction about what to do next.
Adapt the final cut to the platform and the kind of viewer it serves. Check whether the end text, captions, and key interface detail fit on a phone at the same time. For YouTube, consult the official Shorts upload guide before exporting. Then preview the version people will actually see. If the destination changes, review the crop, timing, and next step again instead of assuming the same file will work in every place.
Production inputs
Prepare current screenshots and clean recordings
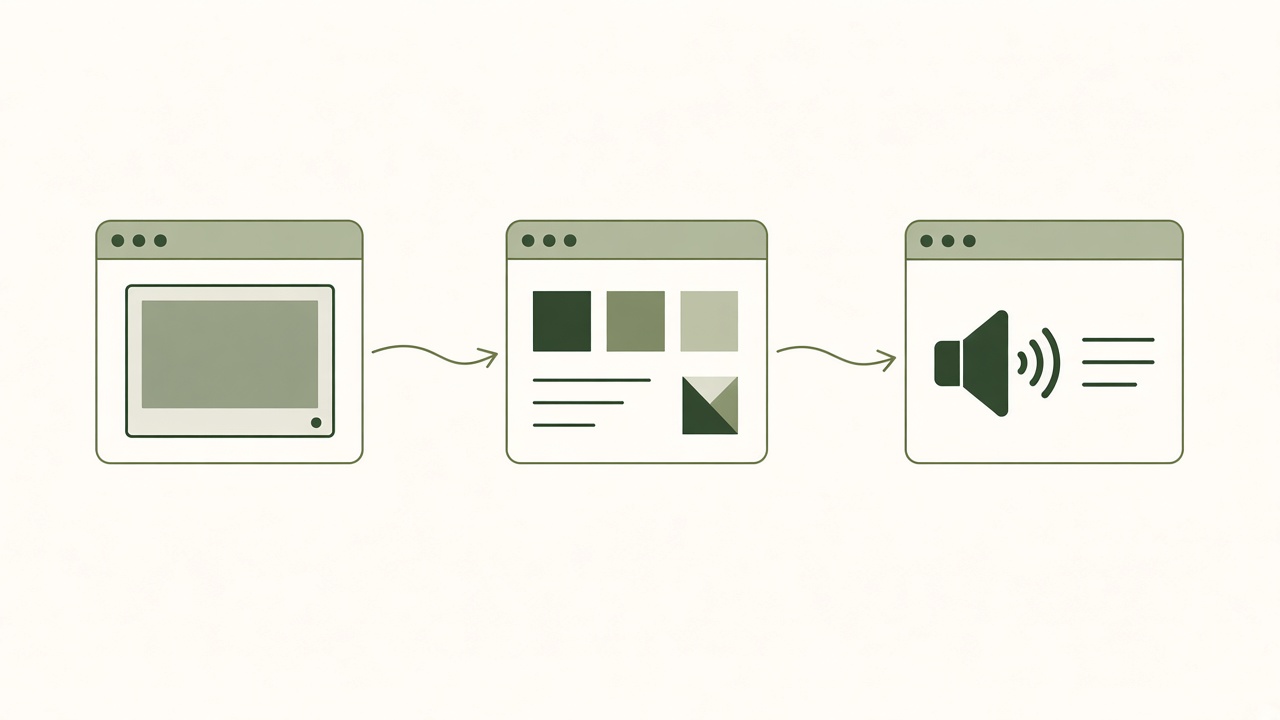
Make a short recording checklist before capturing a demo. Note the account, role, test data, browser size, and version of the interface. Turn off distracting notifications and remove customer information from the recording environment. Use an example state that is easy to read and can be recreated if you need another take. For a before-and-after, capture both states under the same conditions where possible. If the views are from different accounts or dates, verify that their differences are actually caused by the action you are trying to show.
Capture a little more footage than you intend to use. The editor may need a second before a click, a longer hold after a page change, or a wide shot that places the control in context. Save the source footage alongside a note that explains what happened in the recording. If the product interface changes later, that note can help the team find and replace just the affected scene. Keep the footage and its approved use together so a future cut does not accidentally reintroduce an outdated state.
Supply the brand assets and on-screen wording
A small brand kit is enough for most feature demos. Include the current logo, relevant colors, approved product names, and a few examples of the language you use with customers. Provide a readable text style for titles and annotations. Use overlays to point to what matters and leave product labels visible. If the UI and the overlay use different terms for the same control, a viewer may have trouble following the demo in their own account. Check exact wording against the screen before approving it.
Give the editor the desired channel, aspect ratio, destination link, and any restrictions on the use of partner marks or customer material. Keep these decisions in the same brief as the shots. If the product screen will be cropped for vertical video, decide which part of the interface has to remain visible before recording. Capturing a simpler, larger view may be easier than trying to fit a dense desktop screen into a narrow export afterward.
Plan narration, captions, and sound together
Write narration that explains what the viewer sees and why the action matters. If the picture already shows a button being clicked, use the words to explain the change the viewer should notice. Avoid making the audio carry every detail that the screen could show directly. Some demos work with on-screen labels and captions alone, especially when there are only one or two actions. Where there is meaningful audio, use the W3C captions guide to plan a readable text version and check its timing.
Keep a record of who supplied the voice, music, and any stock clips, and confirm that the team can use them in the intended channel. Check the license before mixing the audio because replacing a track can change the pace of the edit. The YouTube guidance on copyright claims and takedowns is a useful starting point when preparing a clip for that platform. The production record should also include the editable project or source files the team expects to keep.
Automation versus review
Use software where you can inspect the result
Product demo video automation can help prepare a script from supplied notes, suggest a shot list, assemble a rough cut, or draft captions. Start with a task that has a clear source and an output you can inspect. For example, give a tool a transcript and ask it to propose shorter on-screen lines. Then compare each line with what the speaker said and what the footage shows. A founder can delegate that first pass while retaining control over which words and pictures appear in the final version.
Give the tool the source footage and the claims you have approved. Be explicit about which product states it may show and what a generated visual can represent. A generated background, a generic illustration, or a proposed storyboard can help plan an edit. It cannot establish that a feature behaves the way a real interface does. Use actual product footage for the moments that support a product claim, then check the rendered output for substitutions, missing steps, or edits that make the sequence misleading.
Review the product claim across every layer
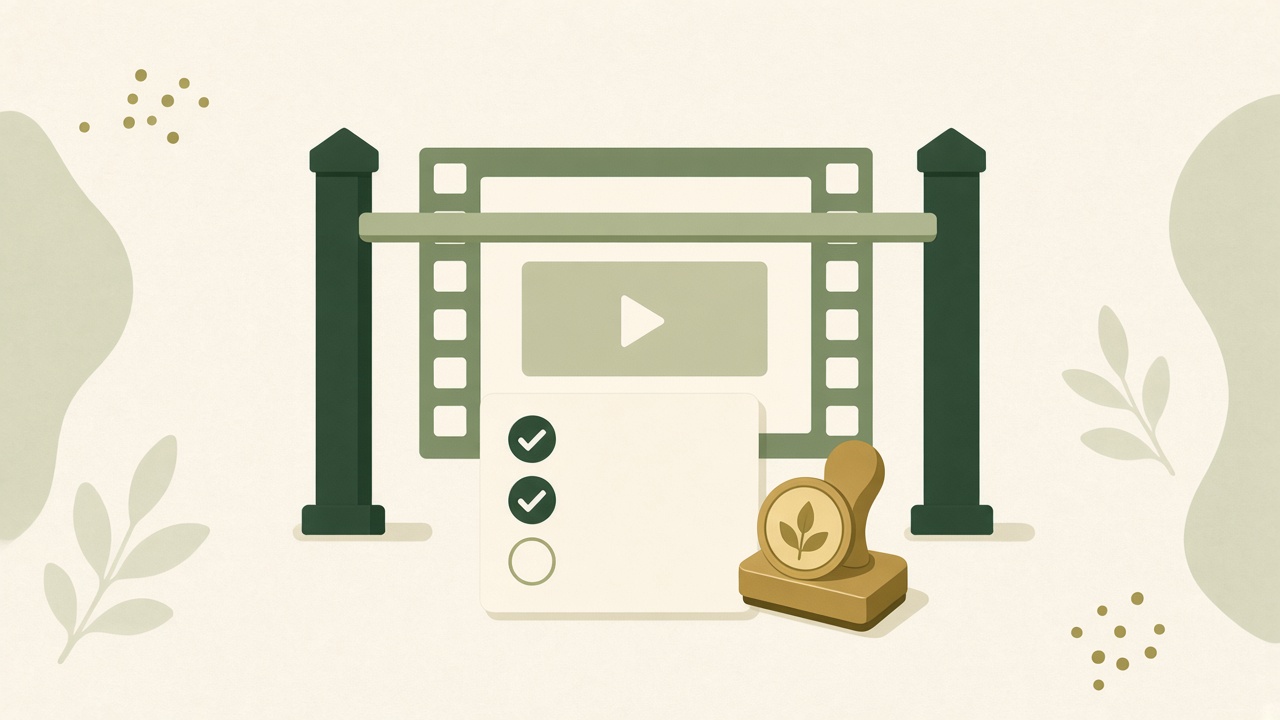
Start with the opening line, then review the action, result, caption, and destination together. If a caption says the user can book at a time the final screen does not show, correct the caption or the footage. If the voiceover suggests a setting changes immediately but the product requires saving it, include the relevant confirmation. Ask the person who understands the feature to reproduce the steps in an appropriate account. Record where the editor found supporting evidence and which version was approved.
Check the call to action for the same accuracy. A “try this setting” prompt should point to instructions or a product route that helps the viewer take that step. If the feature is plan-specific, say so in the context where it matters. Avoid using one short clip as proof of a result that would require usage data. When someone asks for a stronger line, look for the evidence first. A precise description of a real outcome on screen is often easier to trust and easier to maintain.
Make it possible to correct the video later
Keep the approved export, the editable assets, and the source recordings together. Note which posts use the clip and who owns corrections. If the product changes, compare the new interface with the shots and decide whether the difference affects the viewer’s ability to follow the demo. A small label change might need a new overlay. A change in how the feature works may require a new recording and a fresh review. Keep a way to hold or replace affected assets before the next publication cycle.
Review accessibility and accuracy after the final export. Captions that looked correct in an editor can be obscured by the platform’s controls. An otherwise clear screen can become difficult to read after compression. Use the destination preview when available and look at the video on a phone. Check the audio level, opening frame, caption text, and final link. This last check gives the publisher a concrete version to approve and makes it easier to diagnose a problem that appears after upload.
Compare demo approaches
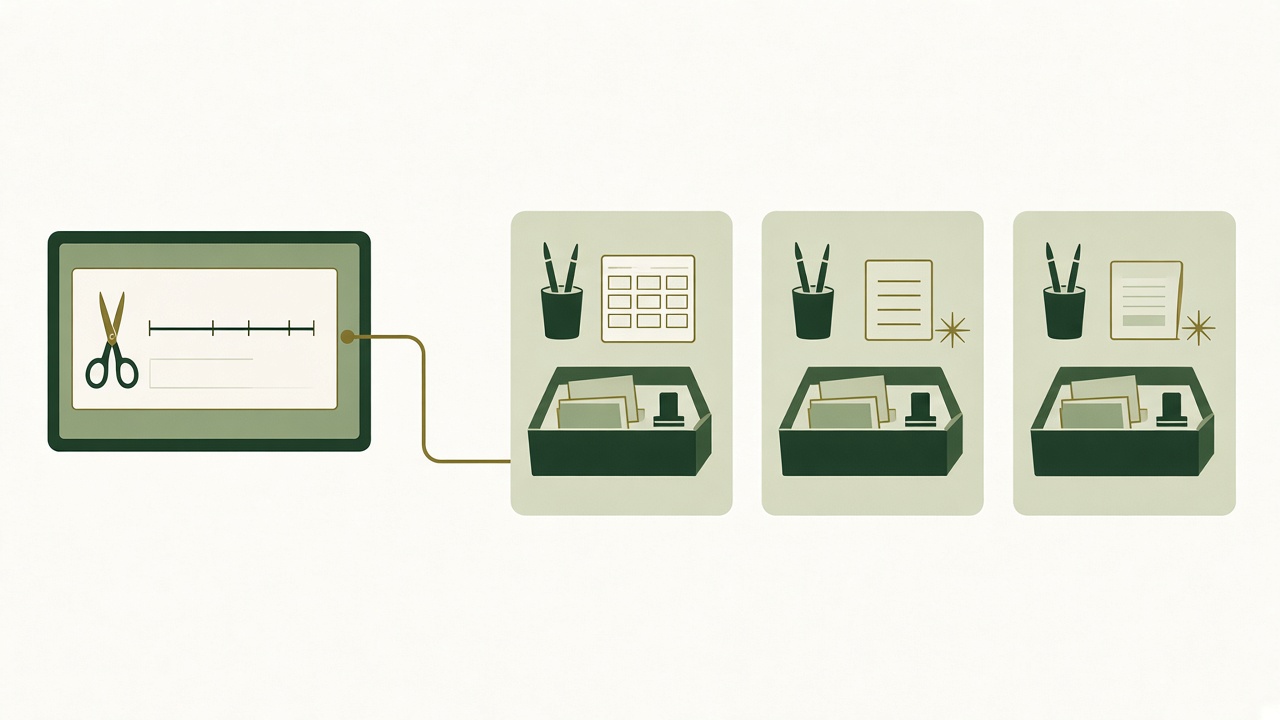
Choose a single product action and give each approach the same source footage, brief, and destination. Ask the editor to produce an opening, the key action, the visible result, and a usable caption. Then ask for a routine correction, such as shortening a hold or changing a term. Compare how much time each approach takes through approval and export. A fast rough cut is valuable only when the team can turn it into an accurate and usable final clip.
| Approach | When it helps | What to test |
|---|---|---|
| Manual editor | Precise control over screen crops, timing, transitions, and audio. | Check time for recurring edits and whether someone else can maintain the project. |
| Template tool | A repeatable layout and consistent branding for familiar formats. | Check that the template can keep the product action readable and accommodate an exception. |
| AI-assisted workflow | A starting script, rough cut, or captions from the material the team supplies. | Check whether you can revise the result, keep real footage intact, and export the required format. |
Test the edits your team actually makes
Give the trial editor a version naming rule and a review deadline. Ask them to hand over the approved clip, captions, source recording, and any editable project the workflow can retain. Then have a second person locate the current version without help. This tests whether the workflow is usable when the original producer is unavailable or a product update requires a quick correction.
Ask whoever reviews product content to find one issue and request an edit. A manual editor can allow a very precise correction but may require a specialist. A template can make the common version quick while limiting the way a screen recording is placed. An AI-assisted workflow can suggest a new cut or shorter narration, but the team should check that the revised version still shows the correct product action. Observe what the editor can change directly and what forces a fresh render or another handoff.
Check export and retention before choosing a workflow. Open the exported file, inspect the dimensions and captions, and see whether another team member can make a later correction from the material you can keep. If you rely on a particular destination, find out whether the tool prepares a suitable file or also supports the publishing step your account needs. Both can be workable. The important question is what remains for the editor or publisher to do after the tool hands over its result.
Use feedback to decide what to change next
Set one purpose for the demo, such as explaining a feature or bringing interested viewers to its setup guide. For links to your site, Google Analytics’ campaign URL guide explains how to identify traffic referred by specific links. Pair any traffic report with the questions people ask and what they do after reaching the page. A viewer who asks where the setting is may need a clearer opening shot. A person who clicks through and still cannot complete the steps may need a more useful guide.
Change one aspect of the next version if you want to learn from the comparison. Keep the action and evidence the same while changing the opening, or keep the opening while testing a closer crop. Record what changed and where each clip appeared. A small trial cannot establish a universal best format, but it can reveal when text is hard to read or when a scene moves too quickly. Use those observations to improve the next brief and decide which parts of production the team should repeat.
Use Vlozy with Growth Duo
Connect a real product action to an article theme
Vlozy is the social creative tool in Growth Duo. Start by choosing one product question your team also needs to answer on its website. The article can explain the steps, eligibility, and exceptions. The video can show one action and its visible result. Give both formats the same source material, then let each owner decide how to present it to their audience. The article does not need to copy the video’s script, and the clip does not need to cover every detail the article includes.
Ask to see a current Vlozy demonstration with footage similar to what your team uses. Bring the feature description, a safe recording, your desired destination, and an example of an approved claim. Check the editing and export controls before committing your calendar to the workflow. Review the Growth Duo offer for current scope and onboarding. If a format or integration is essential, confirm it for your account and destination before making a buying decision.
Prepare one topic for onboarding
Choose a feature your team can verify and one customer question about it. Bring the source material to the first trial and name the person who can approve the final version. Ask the editor to keep the brief, recording, and approved export together. That gives the team a usable example to revisit when it prepares another demo or updates the article. Keep a note of what the tool helped produce and which steps remained with your team, especially factual review and the final publishing decision.
Choose the next topic from the work your team already does. A release note might reveal a feature worth showing. A support question might point to a confusing screen that needs a clearer explanation. A sales conversation might identify a use case where the product action is difficult to describe in text. Start with the evidence and build the demo around it. Once the first topic has been through review, compare the effort required with your current workflow and decide what would make the second run easier.
Questions about product demo production
What is product demo video automation?
It is using software to assist repeated parts of producing a feature demonstration, such as drafting a script, preparing captions, arranging approved footage, or exporting a clip. The team still decides what the video proves and checks that the product is shown accurately.
Can AI make a demo video from a software product?
AI tools can help assemble a demo from supplied material, depending on their capabilities. Use accurate screen recordings for any action that needs to prove how the product behaves. Inspect the resulting video before treating it as a real demonstration.
How long should a short product demo be?
Use enough time to establish the problem, show the action, and make the result readable. The 20-second example above is a storyboard for one setting. A more complex action may need a longer clip or a link to the complete walkthrough.
What do I show in the first three seconds?
Show the relevant starting screen or the problem the viewer will recognize. Pair it with a short line about what will change. Save background context for the caption or guide if it is not needed to follow the action.
Can I use real screen recordings?
Yes, when your team has the right to use them and the tool supports the format. Record with safe data, confirm that the interface is current, and keep the source footage in case you need to correct or reframe a scene later.
What makes a software demo credible?
It shows a real action and a visible result under conditions the viewer can understand. Claims in the title, voiceover, and caption should match what the recording supports. Mention any account or setup requirement that affects the outcome.
How do you turn a feature into a video hook?
Start with the problem the feature addresses, then pick one action you can show. Write the opening around what the viewer will see change. Check that the first shot and the words point to the same moment.
What is the difference between an ad and a demo?
A demo shows how an action or feature works. An ad is designed around a promotional goal and may use a demo as one part of the creative. In either format, product claims should be supported by the material you show.
Do I need to record a voiceover?
A short clip can work with readable labels if the action is easy to follow. Add narration when it helps explain a visual detail or decision. Provide captions where appropriate and check whether the important information is understandable in the final cut.
How can I review and edit a generated demo?
Compare the export with the source footage and approved claim. Check the cut order, captions, audio, crop, and final link. Correct the editable version, export again, and have the responsible reviewer approve the file that will actually be published.
Bring one feature and the footage that shows it. Check how the workflow fits the next demo your team needs.